Installing Apache web server on Ubuntu 18.04 LTS that will serve up an html webpage.

Apache is an open source web server that’s available for Linux servers free of charge to handle http traffic. Currently serving over 54% of all websites, Apache handles large amounts of traffic, serves many types of content, and is easily scalable.
Linux is a powerful operating system specifically designed to work with open source software. There are many different distros of Linux, and they all have various tools, and various packages. For this demonstration we will be using the modern open source operating system Ubuntu 18.04 LTS, which is a derivative of Debian.
Overview
-Install the web server that will serve up a webpage.
Prerequisite:
- Linux Server
- Secure Shell (SSH) access to your server
- Basic Linux command line knowledge
Let’s start off by connecting to the Linux Server through the terminal.
ssh username@serverhost- To start we will login to our server.
ssh cloud_user@Public_IP
2. Once we login it will prompt you to accept the fingerprint.

3. You will be prompted to put in your password.

4. Verify the Linux distro.
cat /etc/issue 
5. Update all packages on the server
- We are updating all packages on the server to fix bugs, and features, and protect against security exploits.
sudo apt update
6. Install an Apache Web Server
sudo apt install apache2
7. Start the Apache Web Server
sudo systemctl start apache2
8. Enable the Apache Web Server

9. Verify the Apache Service
Curl ipecho.net


Success!
Next let’s Create your HTML website
- Navigate to Root User
Sudo su
2. Create the following Directory
mkdir /var/www/html
3. Navigate to the following Directory
cd /var/www/html
4. Search the directory for the Index.html file
ls
5. Enter the Vim Text Editor
vim index.html
6. Create an HTML file
<!DOCTYPE html>
<html>
    <head>
      <title>Ubuntu Apache HTML Bash Project</title>
    </head>
    <body>
        HELLO WELCOME TO LEVEL UP IN TECH
    </body>
</html>

7. Exit Root User
ctrl+d
8. Change permissions on the Index.html file
chmod -R 755 index.html

Success!
Finally let’s Create and execute a bash script that does all of this to automate the process.
- Let’s make a new directory
mkdir scripts
2. Navigate to the Scripts Directory
cd scripts
3. Create a file named apache.sh
touch apache.sh4. Enter Vim to edit the file
vim apache.sh
5. Create the Bash script with the following commands
#!/bin/bash

# Update all packages
sudo apt update

# Install Apache2
sudo apt install apache2

# Start Apache2 webserver
sudo systemctl start apache2

# Enable Apache2 webserver
Sudo systemctl enable apache2

# Change owner on file
sudo chown -R $USER:$USER /var/www

# Creates specified text in var/www/html
sudo echo "<html><head><title>Ubuntu Apache HTML Bash Project</title></head><body><h1>HELLO WELCOME TO LEVEL UP IN TECH! GREEN TEAM!</h1></body></html>" > /var/www/html/index.html

# Echo completion
echo Web Server active Level Up In Tech!
6. Now let’s upgrade the permissions on the file
chmod -R 755 apache.sh
7. Run the Bash execute command
./apache.sh
8. Final step is to approve additional disk space

9. Web Server is now active


Conclusion!
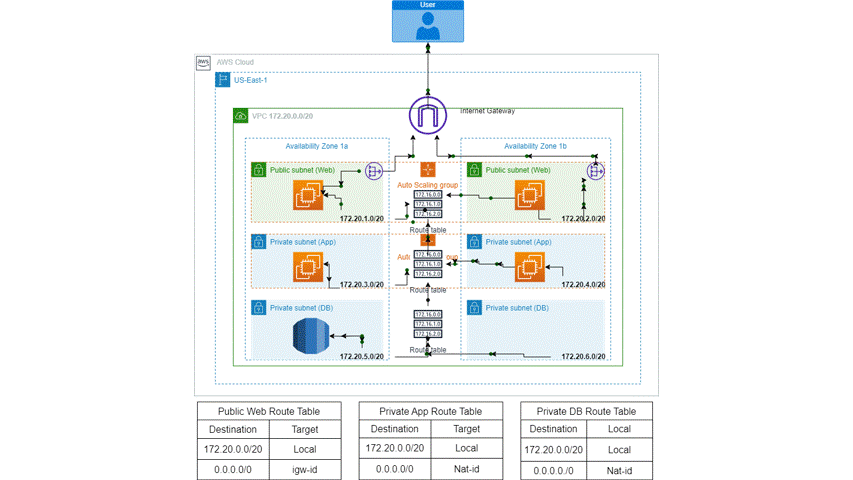
In this tutorial we learned how to launch a server, create an html file, as well as automating the process thru a bash script. We only scratched the surface on how powerful the Linux operating system truly is. If we were to use a cloud service such as AWS, the process would be relatively the same with a few additions. You would use a EC2 instance as a server which will require configuring security groups. Hopefully this tutorial was fun and informative. Thank you for following along, happy coding!